After our snorkel safari, we knew we wanted to take a class or two and learn ourselves sum’thin’. We thought about a cooking class, but realized that Balinese cooking is a bit too fried for us to want to be making all the time at home (fried noodles, fried rice, fried fish, fried scrambled eggs…). Yoga was flat out – no way! Considered a jewelry class for Anner and wood-carving class for me, but we really wanted to be able to take a class together. We pondered a batik class, but…nothing – a perfect idea! A beautiful art form that neither of us knew anything about and was a specialty of Bali? Bring it on!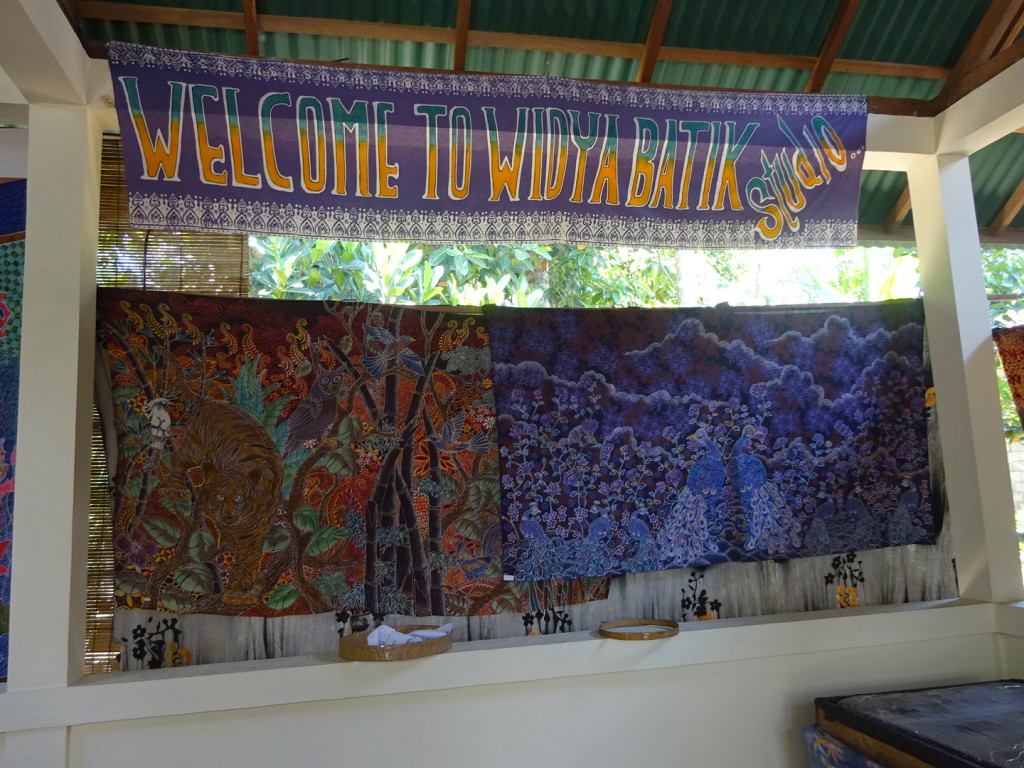
The town of Ubud is sort of the center of the classes world in Bali. What started as a quaint village surrounded by rice paddies and beloved by visitors as a calm slice of island life about 10 years ago, has grown to be a mecca for holistic yoga fans and art lovers. You can find numerous blogs bemoaning it’s growth and change, but going to it for the first time, we quite enjoyed it (despite it being a bit more touristy than we’re used to).
We found a variety of places to take a class in batik painting and settled on one slightly out of town, Widya’s, due to all the reviews revelling in it’s relaxed nature. Loved hearing you could take as long as you needed to work – you weren’t rushed to complete your class in only 2 or 3 hours. That’s a plus for us as we like to really get into our art and just spend the day creating. For the class we chose, we were picked up at our hotel at 9:30 and dropped back off around 4:30. Yep, nice and un-rushed. Loved that.
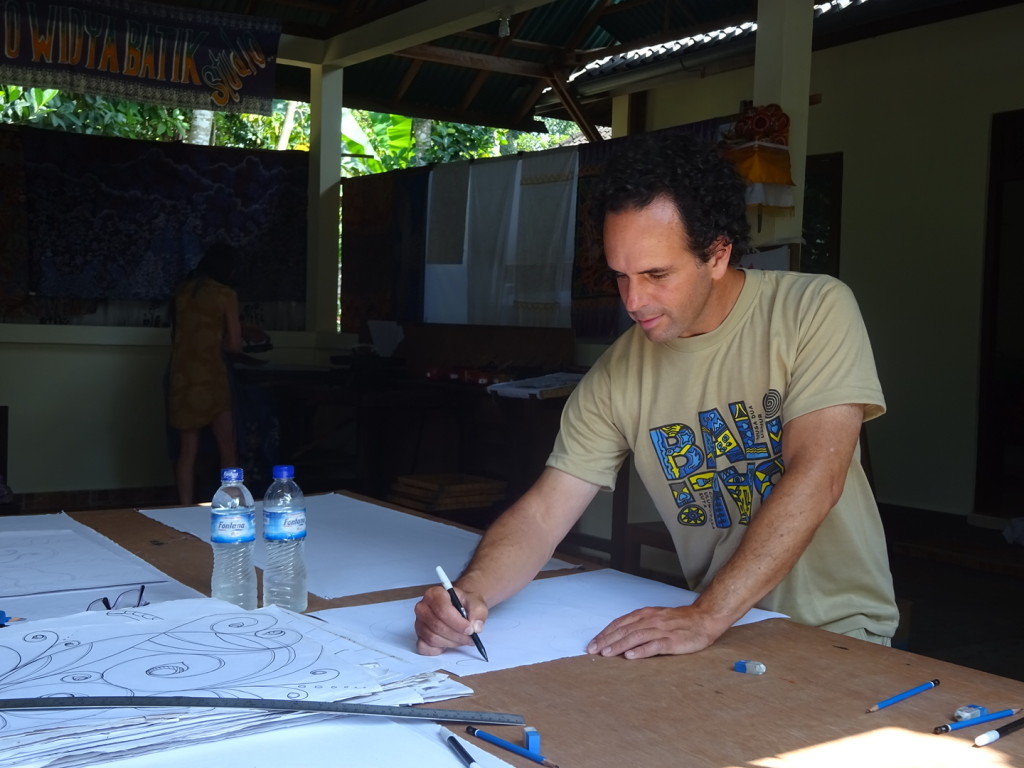
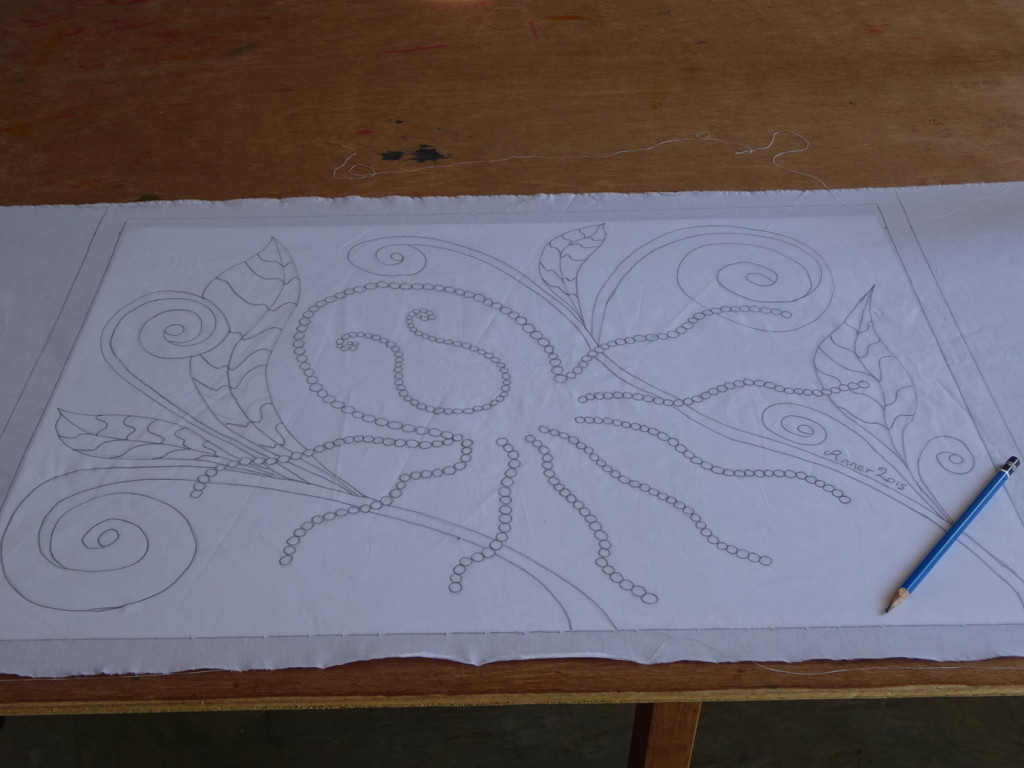
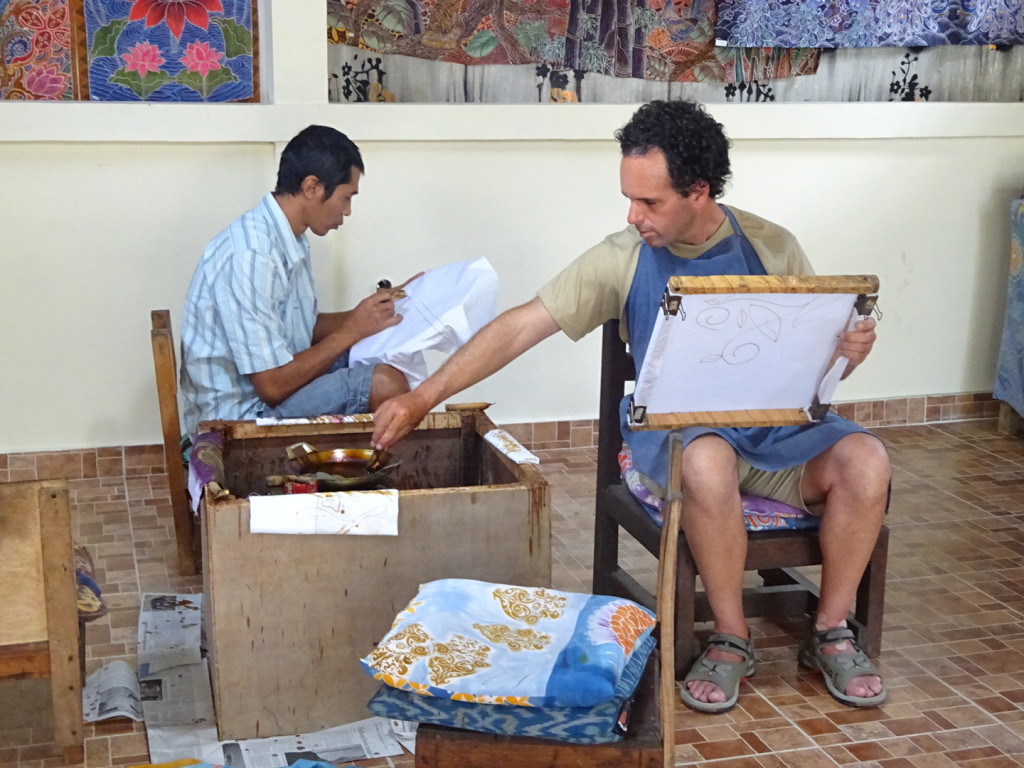
“Enough prelude,” I hear you cry, “Tell me about batik! What exactly is it? How did you do it? Did you enjoy it? Were you any good? For goodness sake, get to the details already!” Right! Diving right in… batik is a process where you start by creating a wax design on a piece of fabric. We used cotton, but it is often done on silk for high end pieces. To add the wax, you use a tool called a canter (pronounced “chanter”) which is a wooden dowel or piece of bamboo with a thin pipe of copper or brass tubing at the end. Above the tube is a little metal reservoir which holds the melted wax for it to then flow out the tube. You have to dump the wax and refill it every 10-20 seconds so it doesn’t harden in the tube.
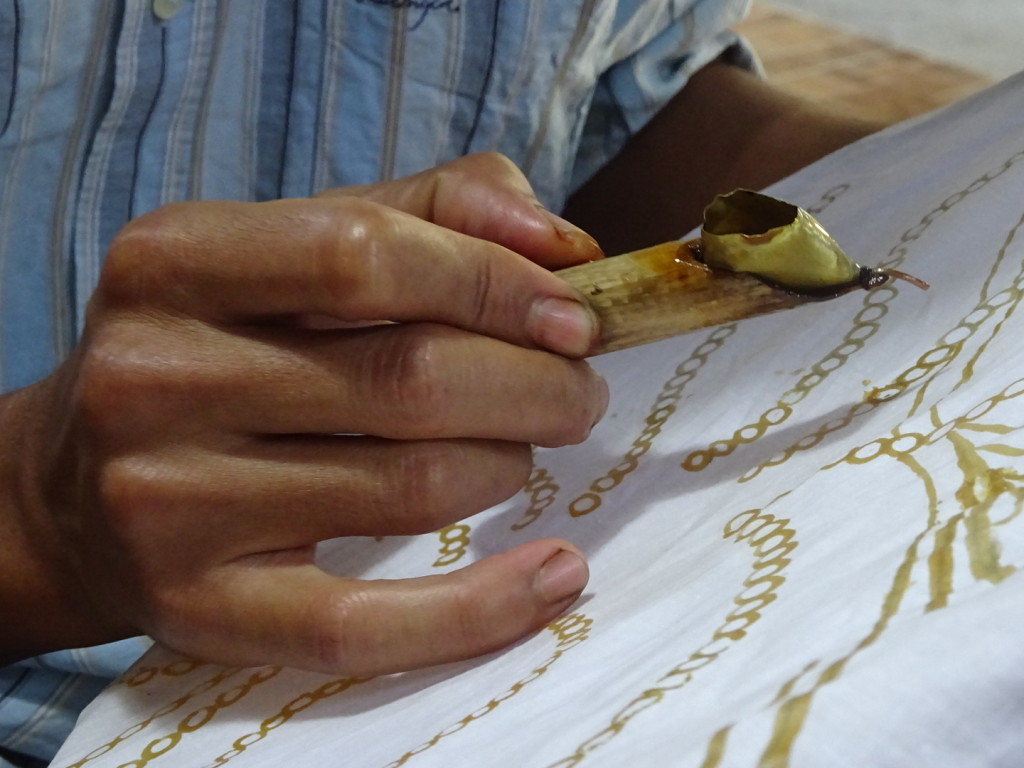
The canter with it’s reservoir and tube-tip. Different size tubing gave different thickness of wax lines.
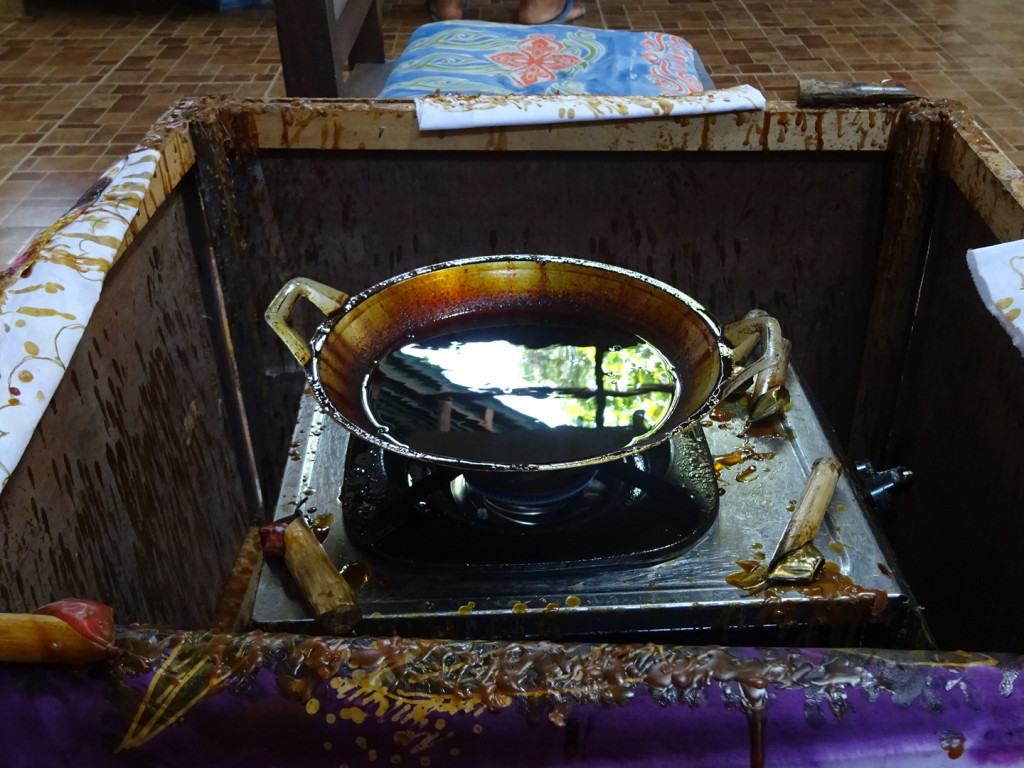
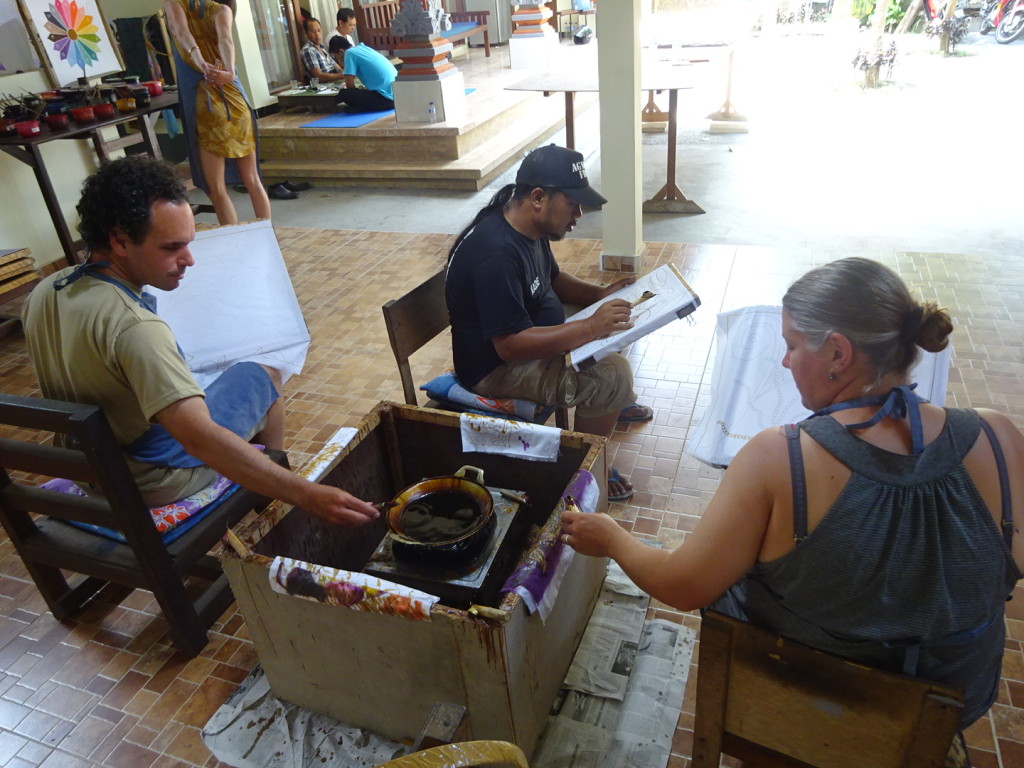
The heated wax wok with four locations around it to work. You could use beeswax, but I think they were using something a little different. It still stung like a dripping candle when the hot wax got on your hand, though!
Let me just say, using the canter took some practice! We definitely got better, but we’ve a long way to go to really say we have some control.
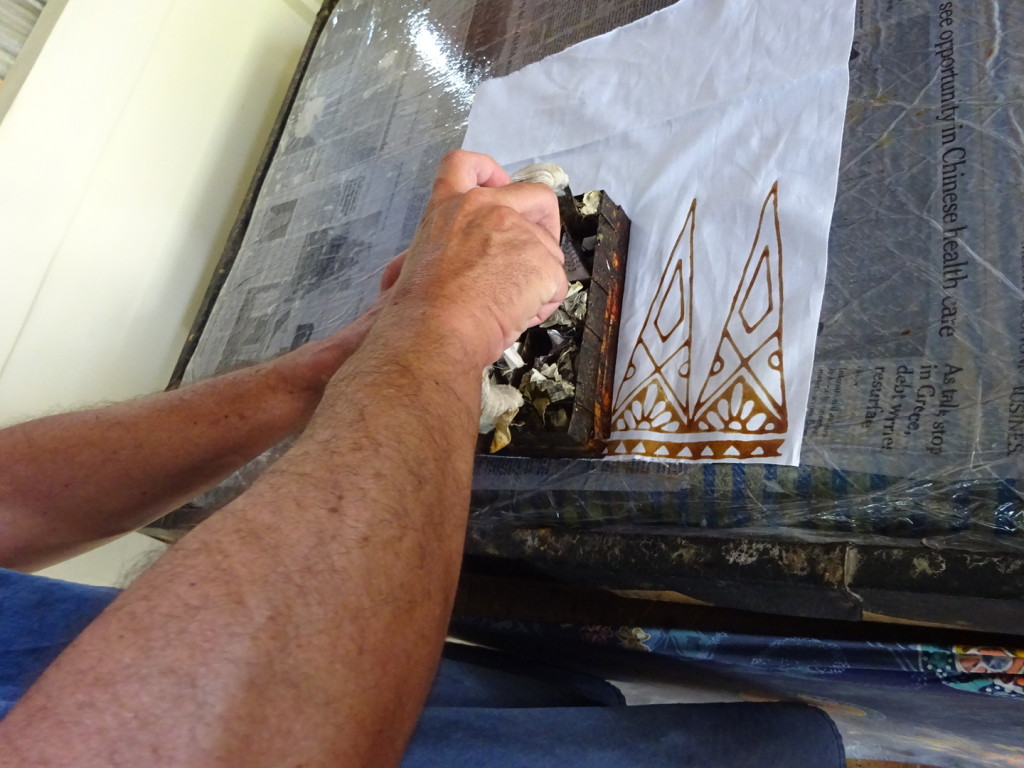
For us the next step was to do a stamping process on the edges. You don’t have to do this and lots of the other classes made smaller pieces with no room for stamps, but they worked well for us and it was fun to try another process.
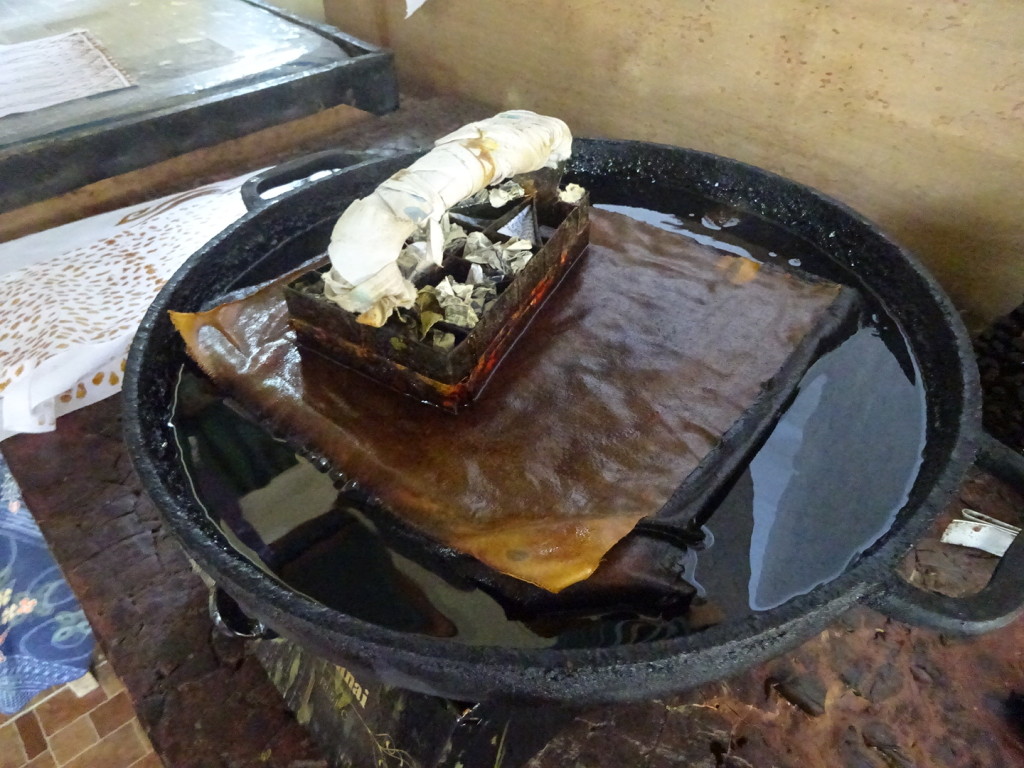
Heating up the stamp in it’s own wax pot. The pad it’s sitting on is layer after layer of cotton. That allows the wax to soak through to the stamp, but not coat it.
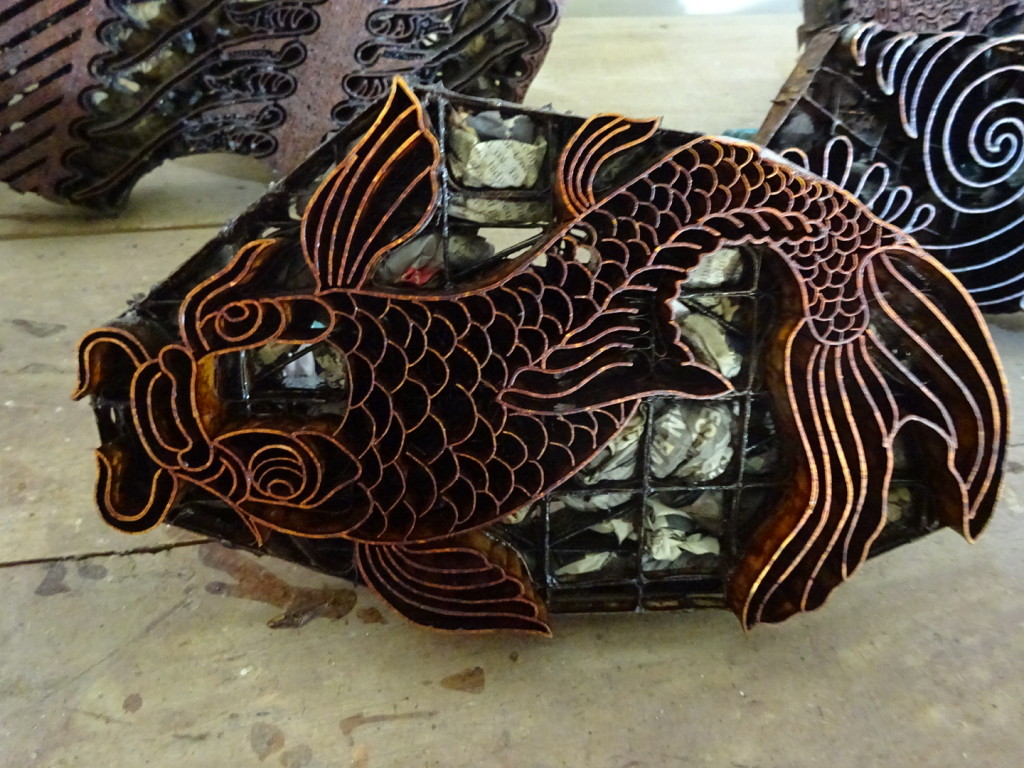
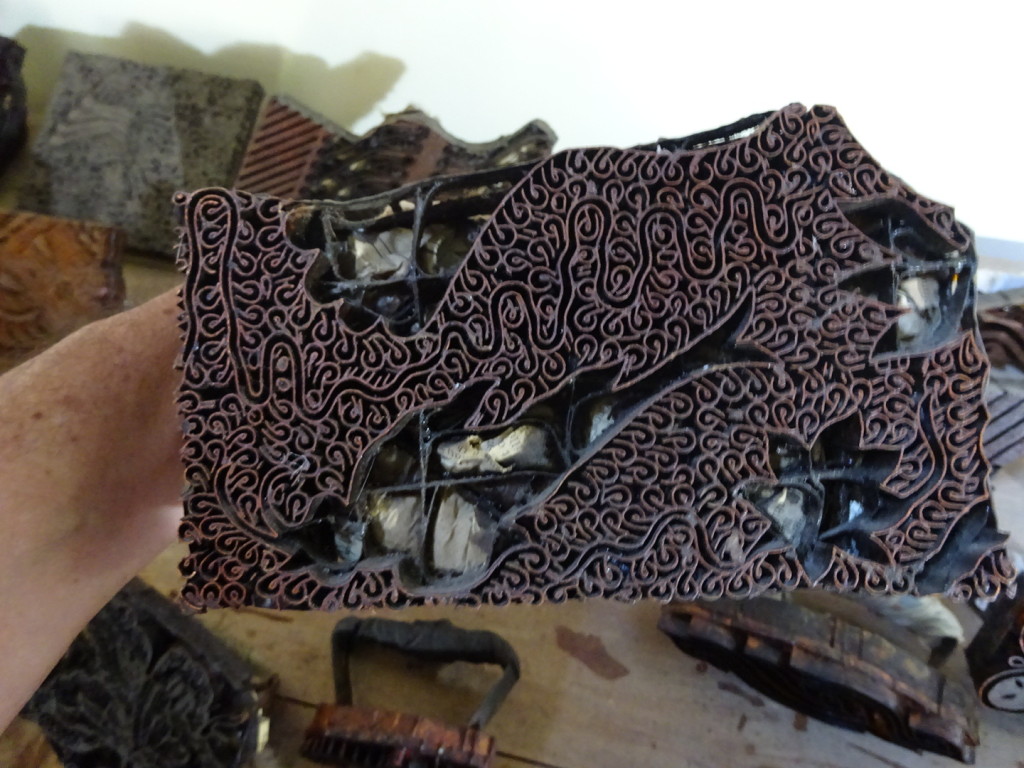
The stamps themselves are pretty amazing! They are each hand-made, usually to the artist’s specifications. Made of copper or brass, the creator solders together sheets and wires to create a design which is attached to a lattice framework and rough handle. Each one could by 2-5 pounds! I thought they were works of art in themselves and couldn’t resist buying an antique one for my studio wall at home.
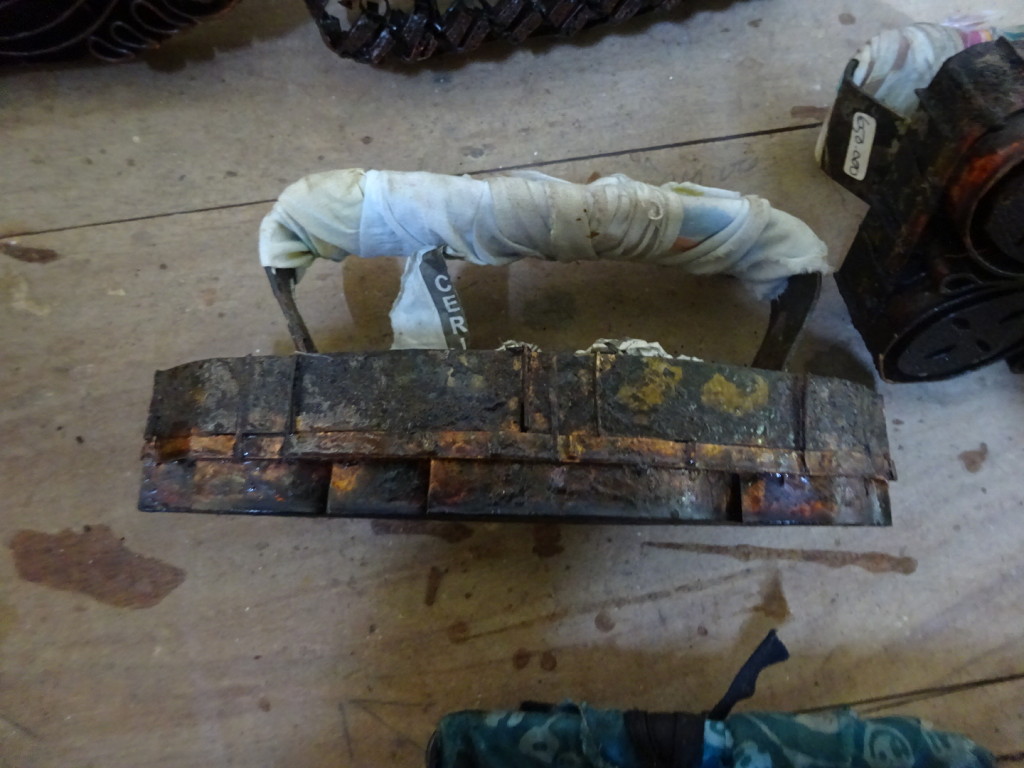
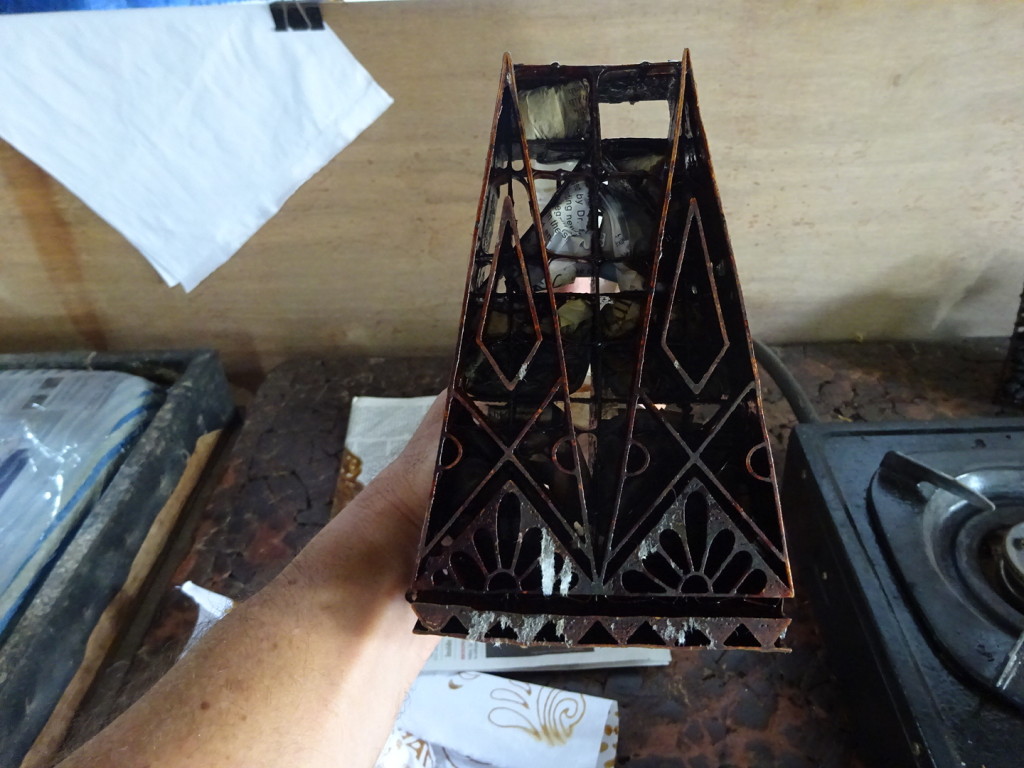
The handles are just a curved piece of brass. You have to wrap them in cotton or you’d be burning your hand using them! Oh, and see the piece of newspaper poking up? They stuff newspaper in the lattice to keep the wax from rising up too far!
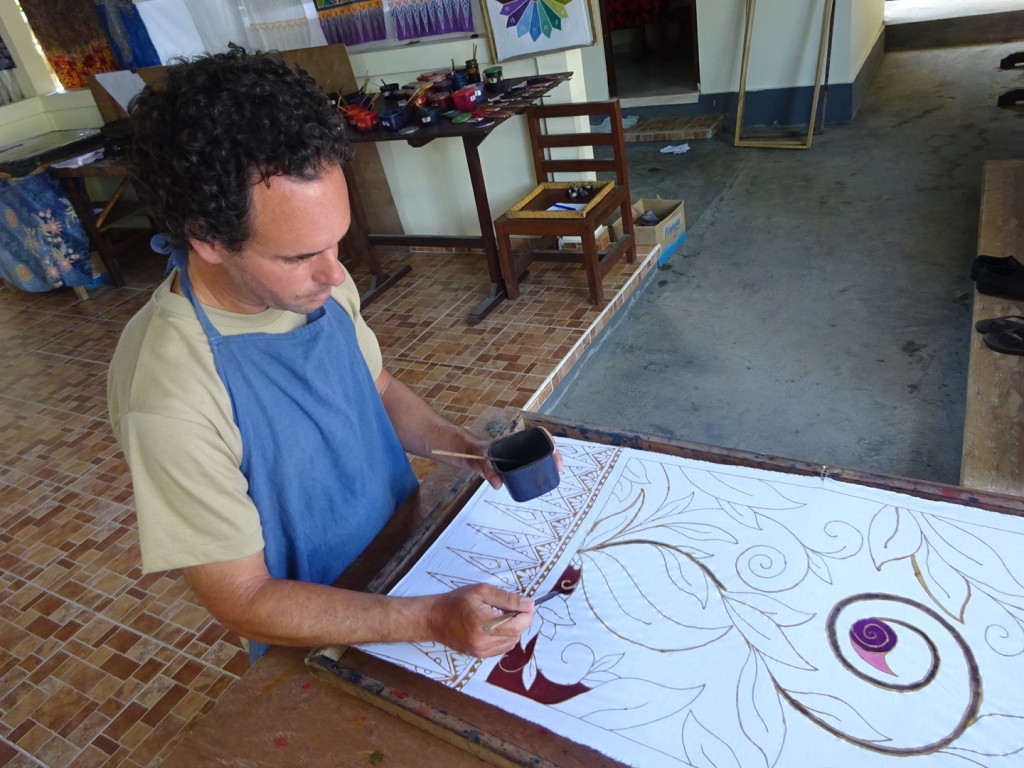
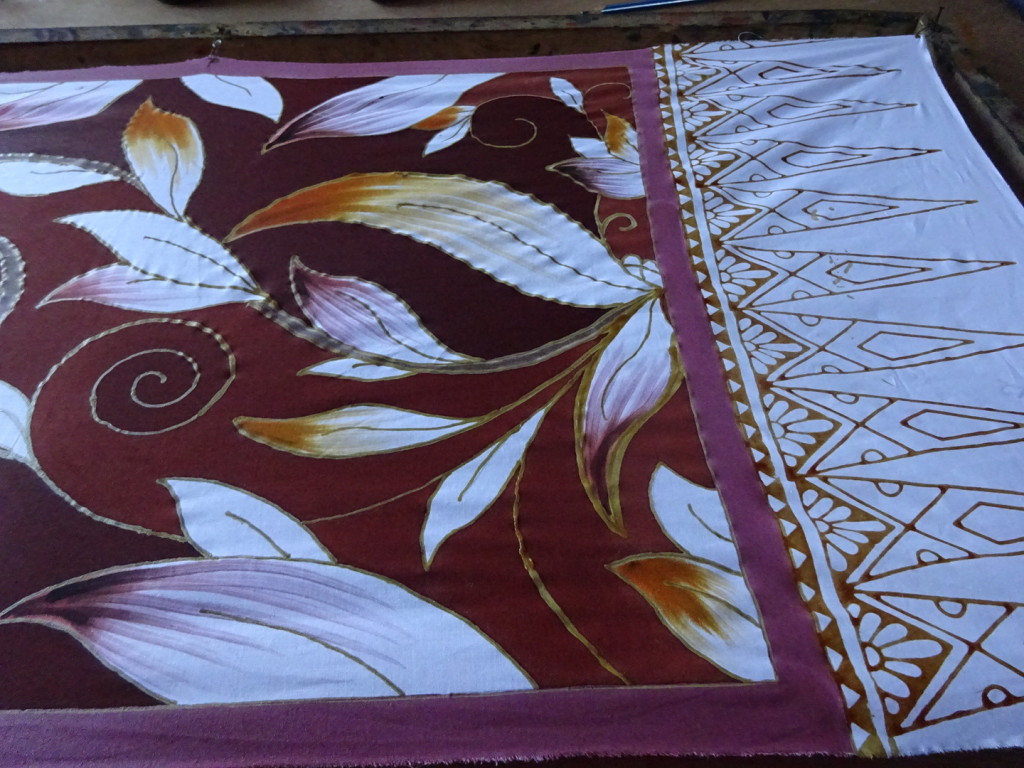
After the wax is dry (and often after we got a little help fixing mistakes!) it’s time to start painting. The wax acts as a resist, so paint won’t go wherever it lies. That allows you to easily fill areas with paint that has the consistency of a dye. You can keep areas right next to each other the same color or totally different as the wax keeps them apart. The wax will leave a white line between the areas when everything is done. White because we were using white cotton. If you dyed the cotton first, it would leave that color as the line.
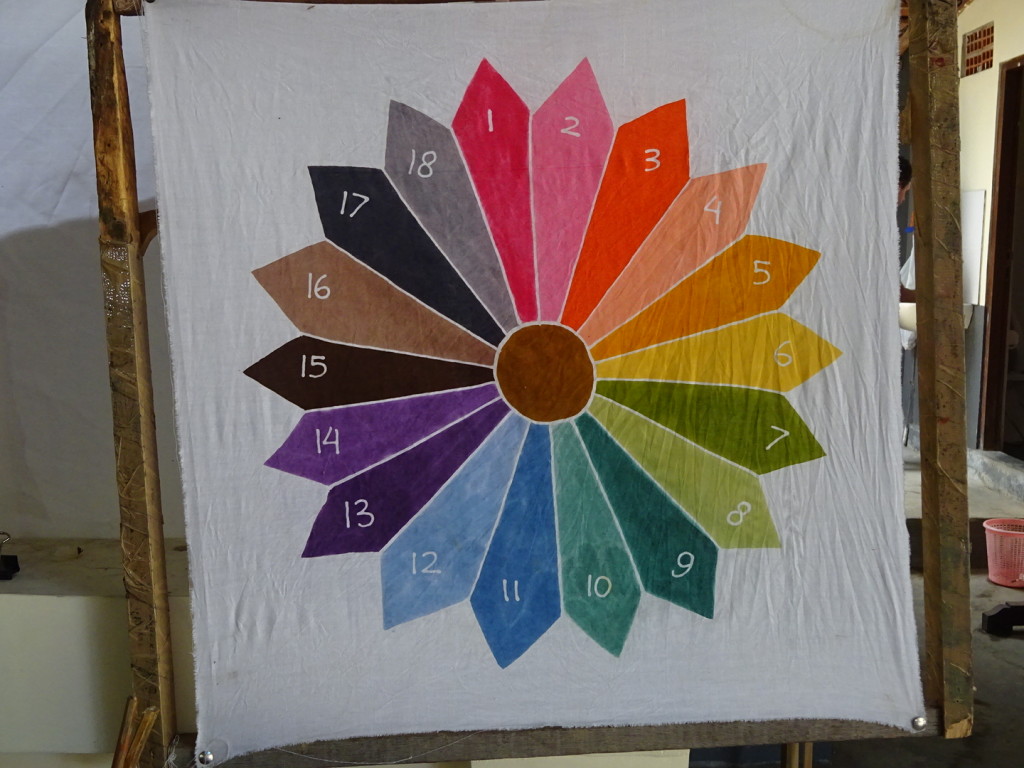
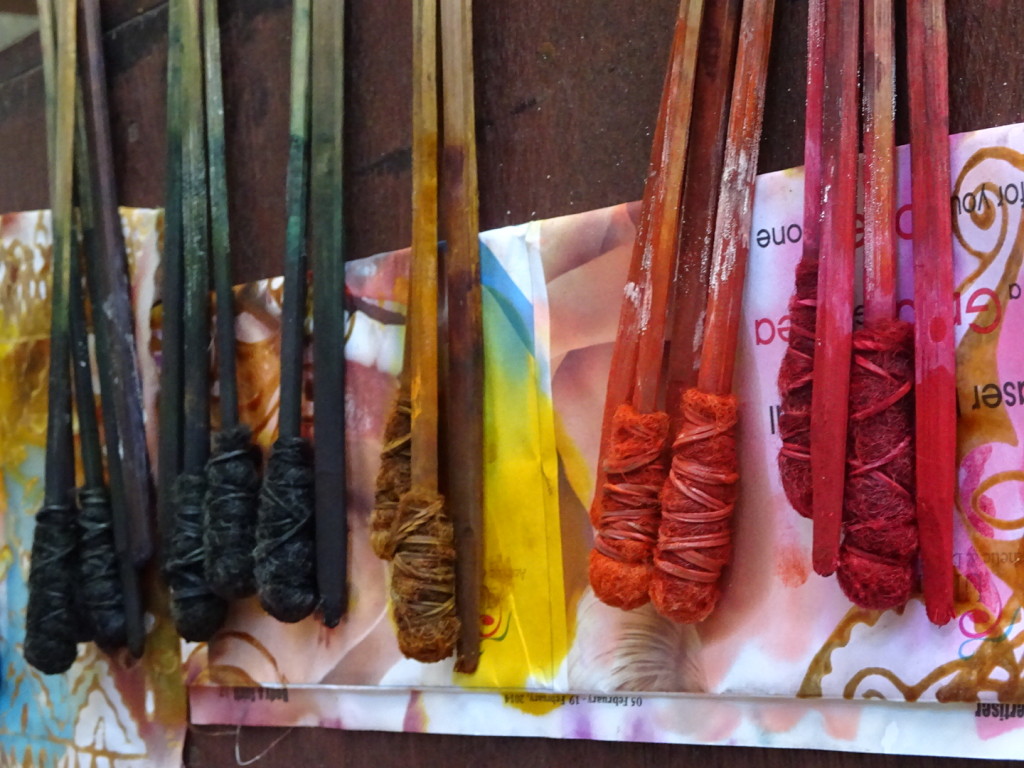
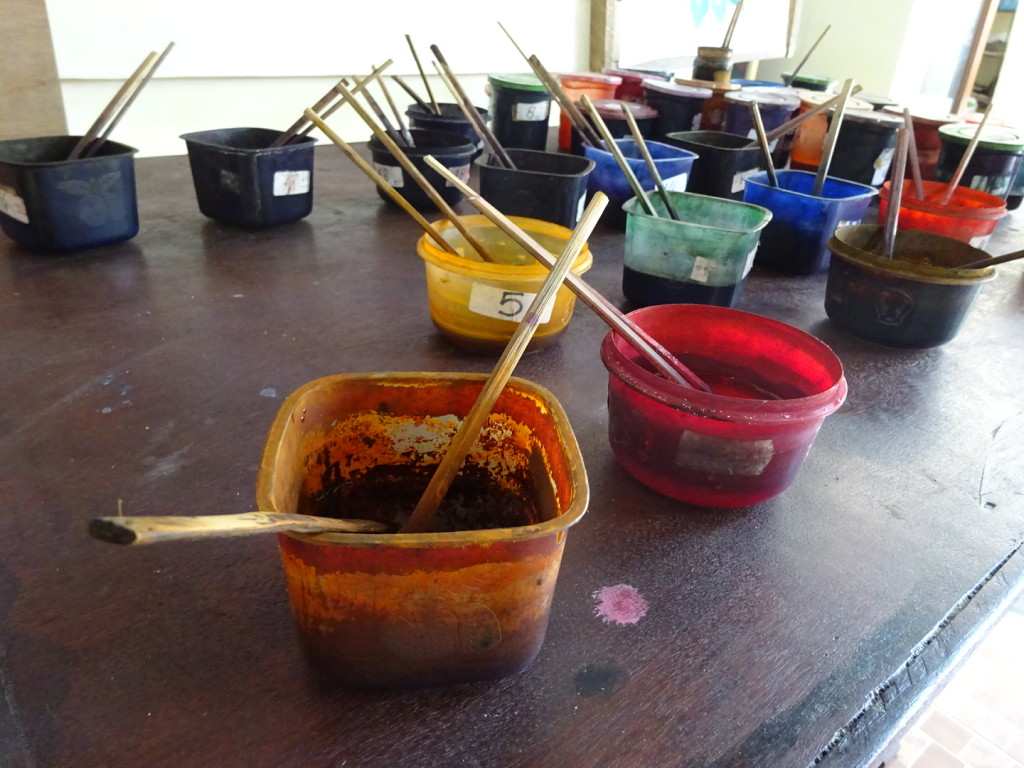
Happily they had made a paint wheel as many of the colors were VERY different on the brush vs. in the finished batik.
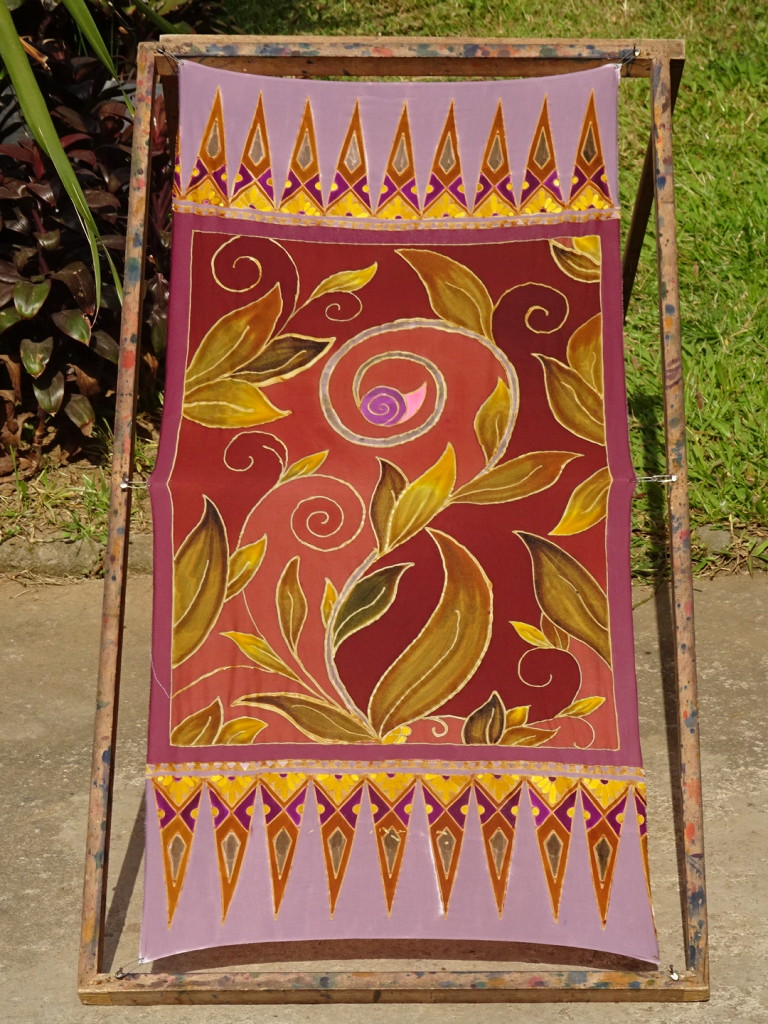
After finishing the painting, we let the pieces dry in the sun. We were using natural dye paints, and as it turns out, the sun dramatically changes some of the colors!
Others change color even more dramatically in a chemical bath – watch the magic happen:
Pretty incredible, eh? The whole experience was so wonderful that we decided to go back and do it a second time. We’d happily do it again, too! Yep, this is an artistic process that hooked us both. Wonder if we’ll find ourselves setting up a little batik space at home?
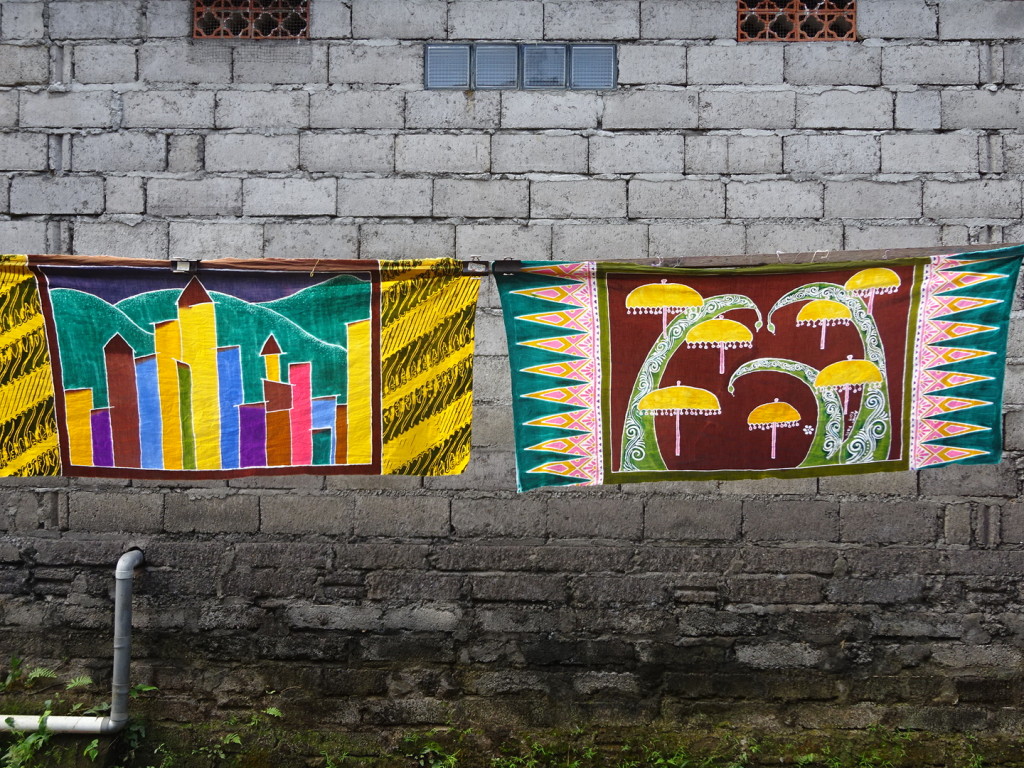
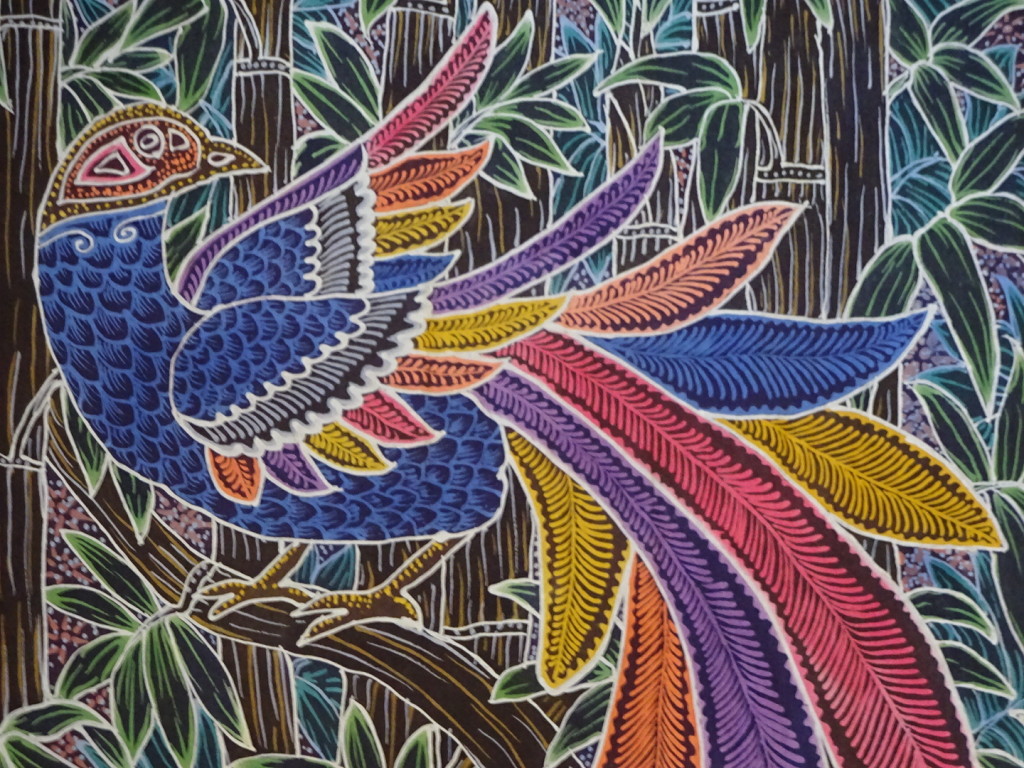
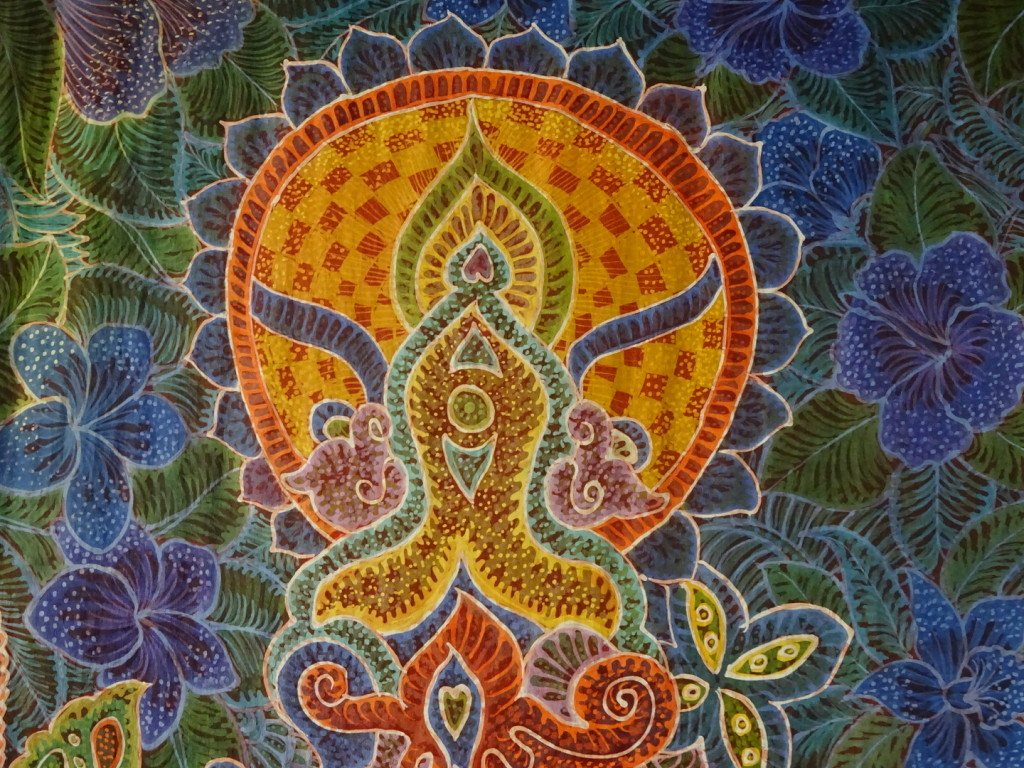
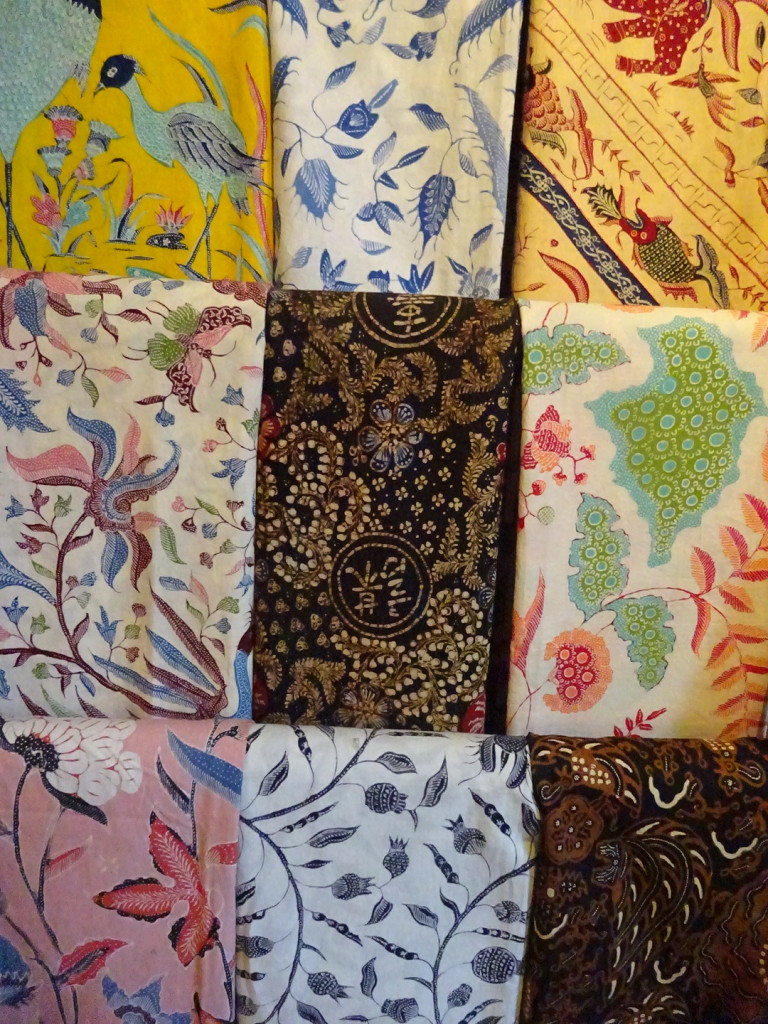
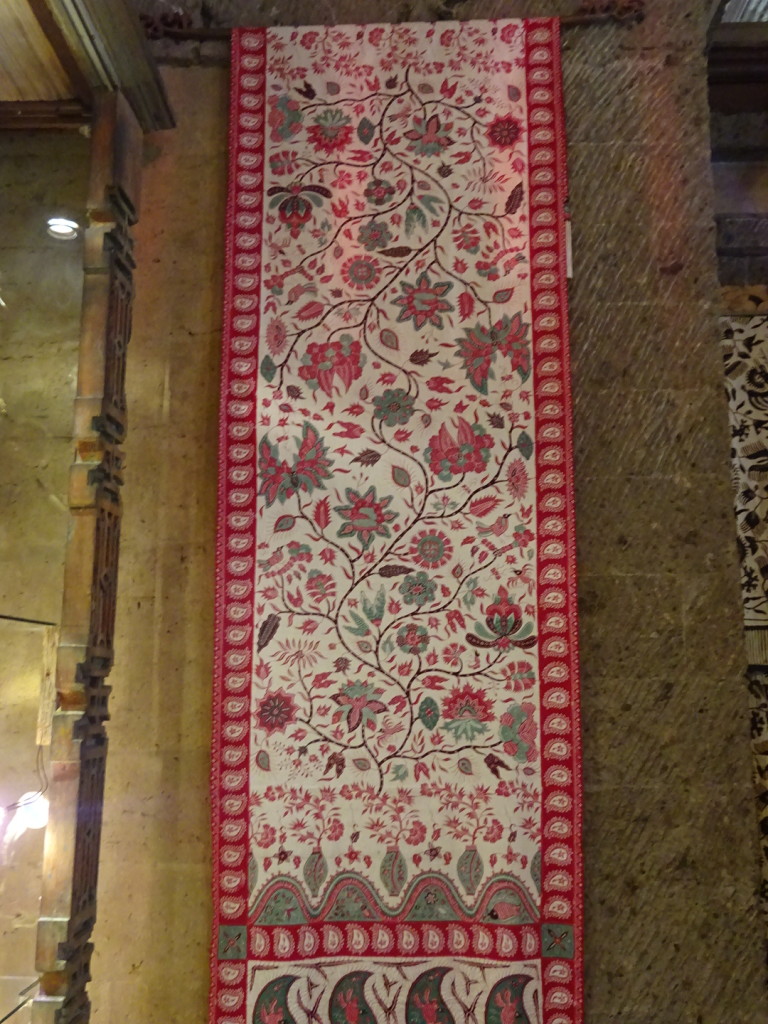
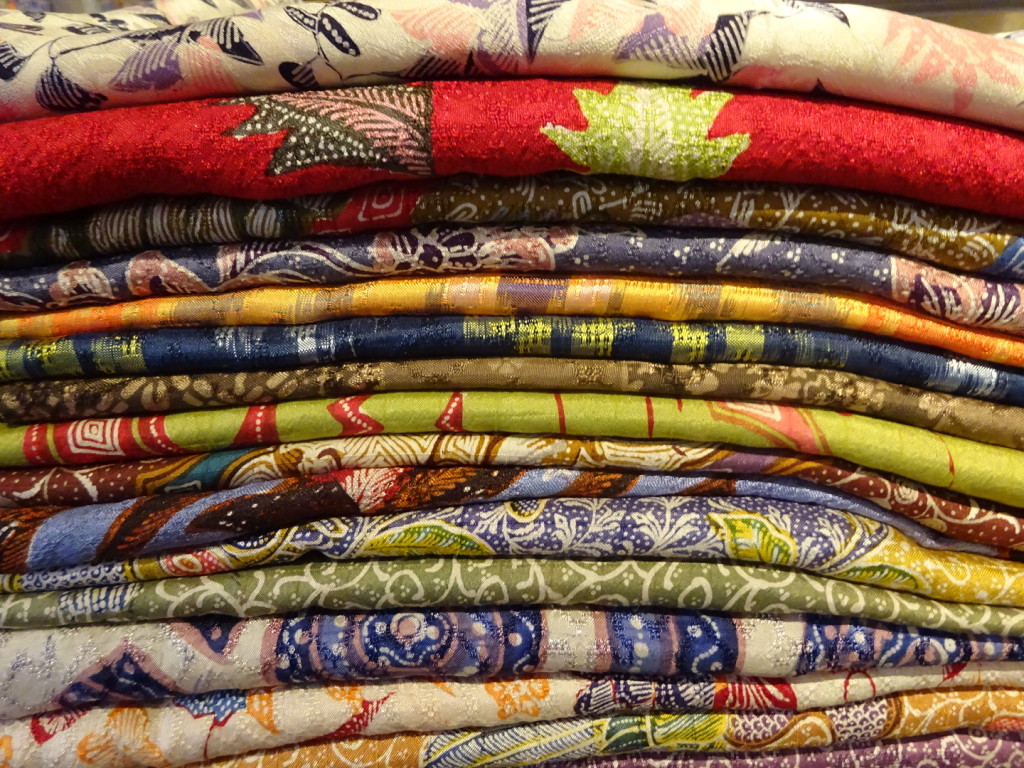
Here are examples of some of the amazing batiks we saw around Ubud. You can see why we were so inspired!
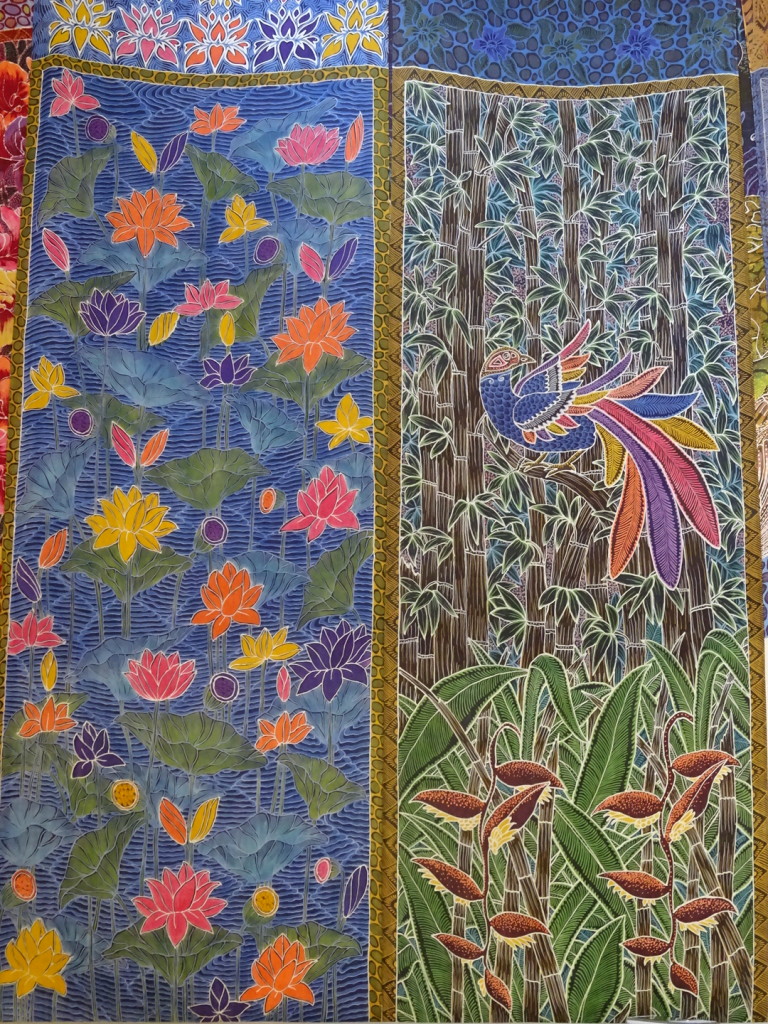
These are large silk batiks made by the staff and students at Wydia’s. They use layer upon layer of dying. The staff works on them between times when they are helping students like us.
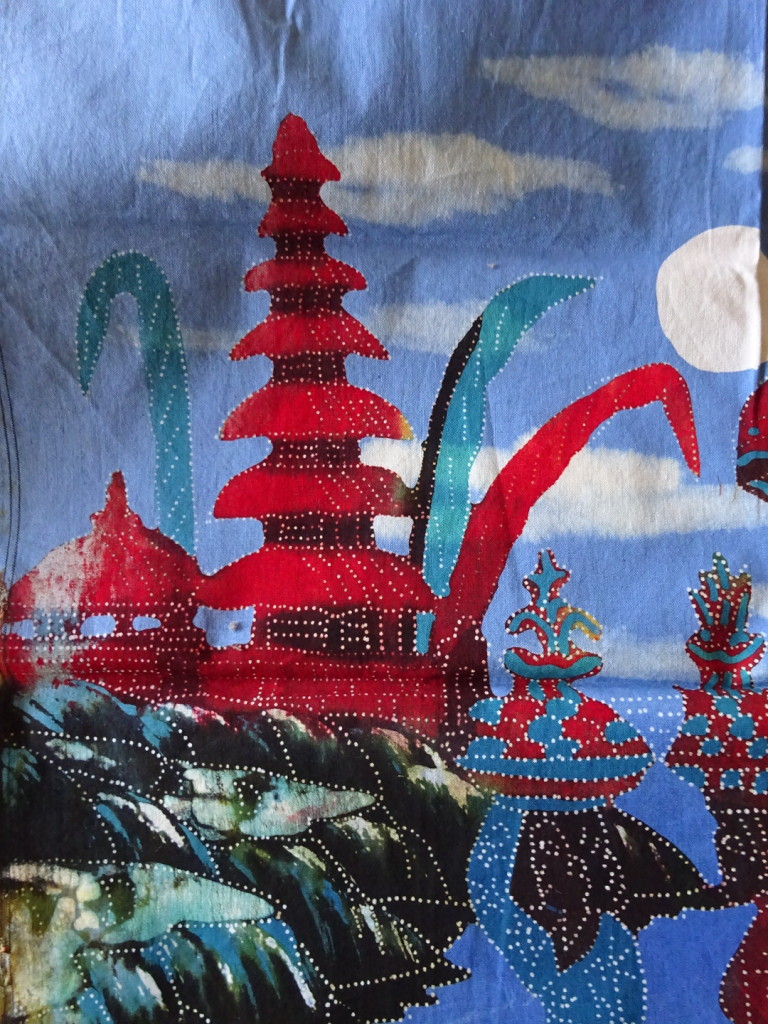
This is a batik of the Ulan Danu temple we visited. We met the artist and purchased the piece in Ubud.
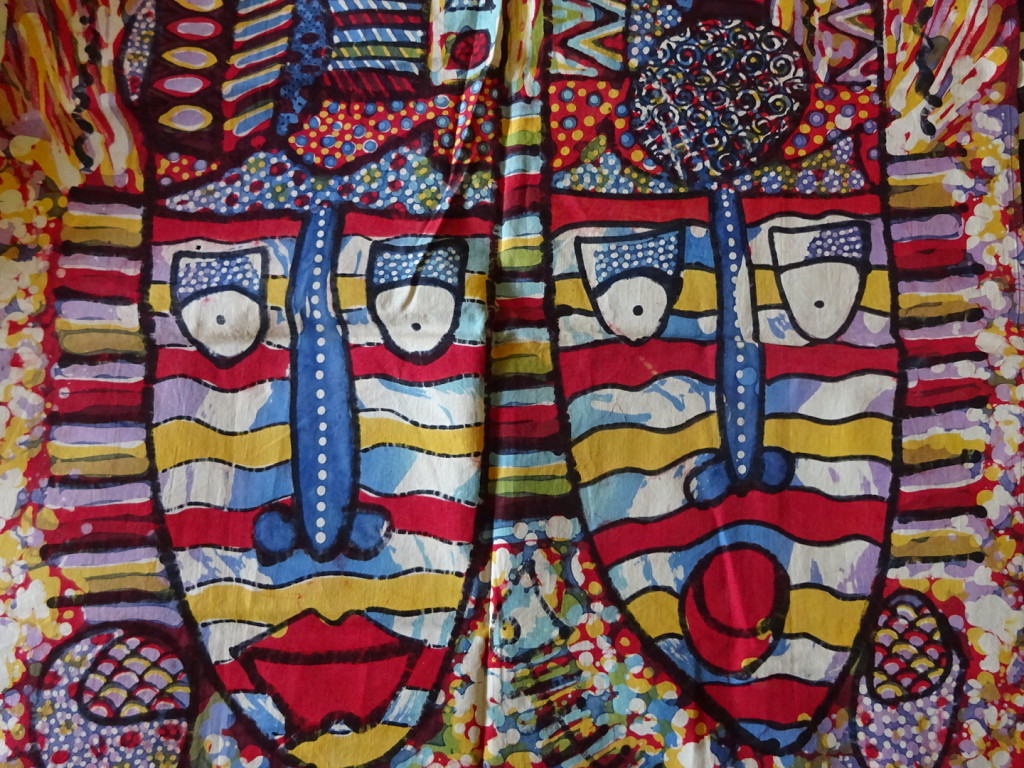
This one is hand painted on cotton by the same artist. It’s much smaller and less detailed…and now we own this one too!
You can see why we have become a bit smitten and hope we can try batik again some day. If you ever get the chance, it’s a day well spent!

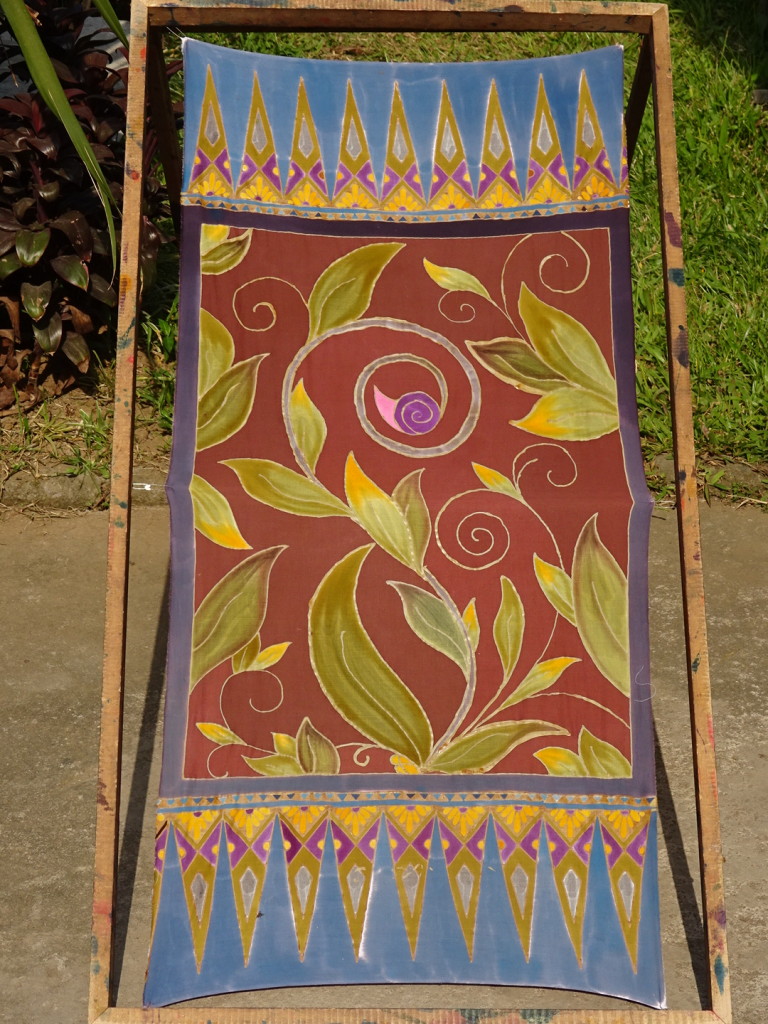
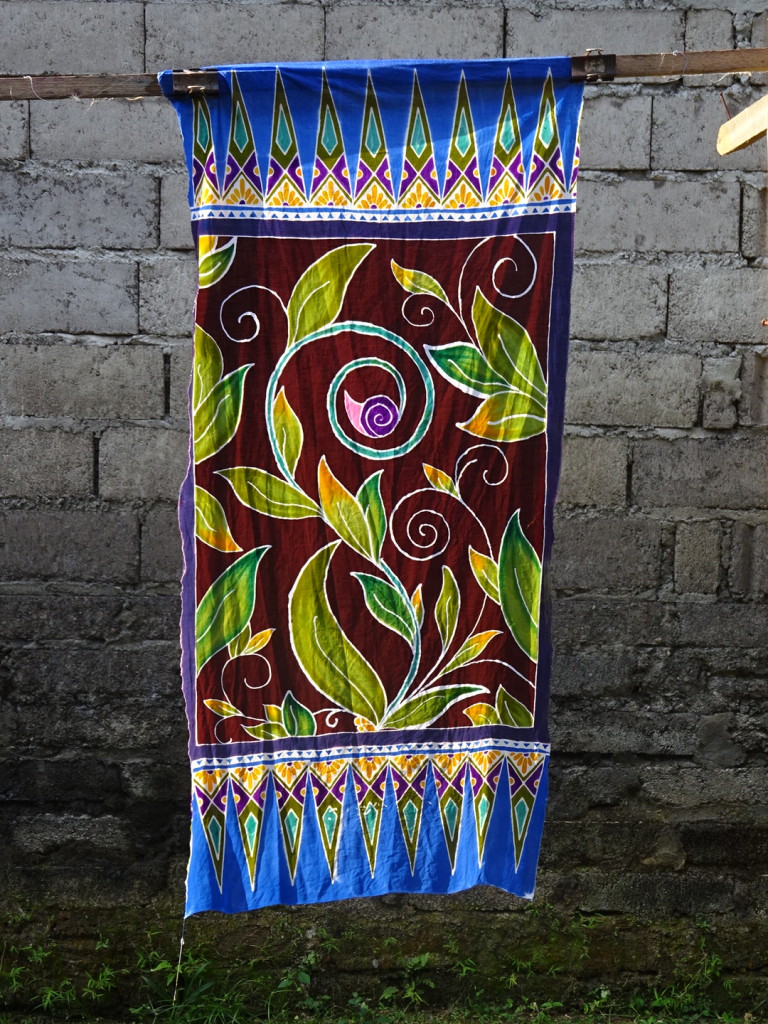
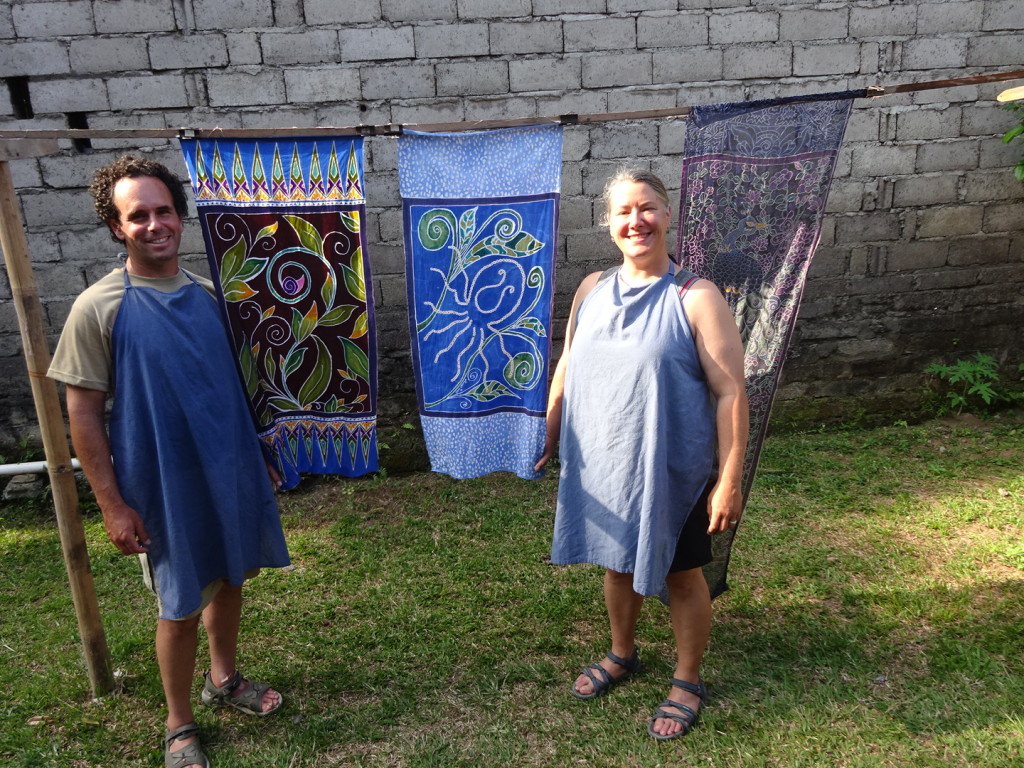
Wish I could have been there to take this class with you. Looks like a lot of fun.
Gail, wish you were there too! It WAS really fun. We’re hoping we can find a batik studio in Seattle. There’s gotta be one, right?
Wow! The batiks are amazing! And it looked like a really fun process too. Will you hold classes for friends when you get home?
I wish we could hold classes – we’re gonna need jobs, after all. Might just be an untapped Seattle market!
Sign me up!
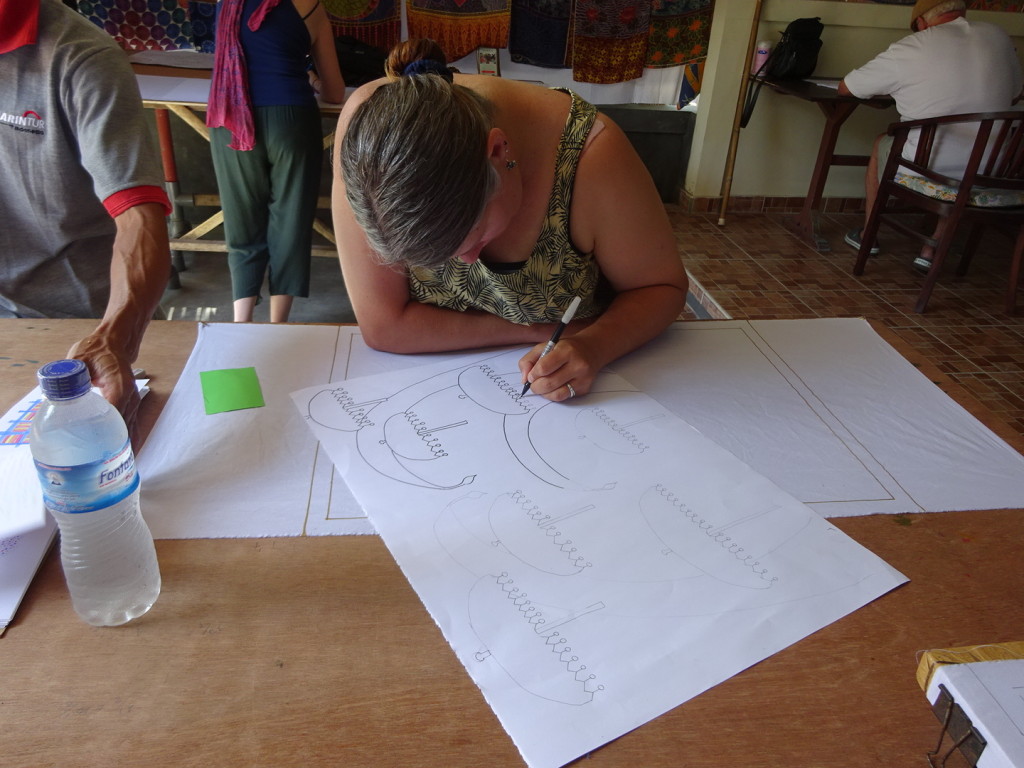
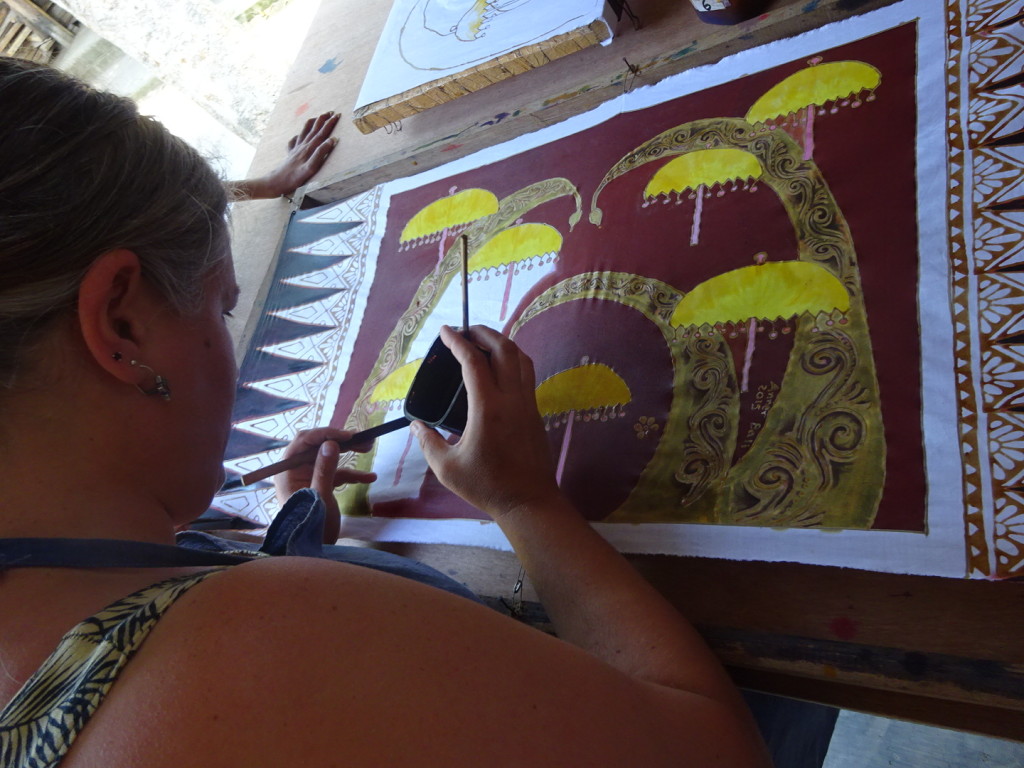
And dear Anner…..are those Umbrellas in your design? Missing Seattle eh?
Luckily we’ll be returning right in the middle of umbrella season! My design was inspired by all the shrines we saw around Bali. Many of them have an umbrella or parasol to protect it from the elements. They were all brightly colored with tassels…so a bit more cheery that home.
So fun and creative!
That looks like it was a fun class and you both made beautiful pieces!
Thanks Julie. It’s always good to try something new. We were both pleasantly surprised by how they turned out.
Beautiful!
Gorgeous. Very different from the commercial batiks made to sell in the U.S. as yard goods. Glad you enjoyed it. I want to go there, too.
Yep, we were VERY impressed with the quality. And seeing the artists there doing it just enhanced our awe.
Another add to my list of places to see and definately on my lists of things to try… even though I am not creattive at all 🙁 so very cool
Bali is a wonderful place for a vacation. Don’t shy away from taking the batik class. The best thing was that they had oodles of designs already drawn that can be traced on the fabric and then it’s just paint by numbers. I know you like numbers! Can’t wait to see what you create. Would love it more if we could do it together.
Holy moly! These are beautiful! I have a big tapestry covering one of the walls on my room and another one on the floor and I love them. It would be so cool to make my own! I’ll have to put it on my bucket list–maybe I can even make it happen during my gap year 😉
Hannah B
It was REALLY fun to do! Rest assured, there is no end to the things you’ll get to try and the new things you’ll learn during your gap year. When we return this winter we can’t wait to see you and hear all abour your plans.