It’s been about two years since we returned from our grand adventure and we’ve finally, FINALLY, realized we’re back to stay! Quite a long process, but I guess you can’t rush these things. Having made the commitment, we decided it’s long past time to make our house more into the way we envision it: a combined dining/gaming room featuring custom-made built in bookshelves, a true art room for all our projects (check out our Instagram for the Sketch-A-Day project we started on January 1st!), etc. The art room has a long way to go, but we’re doing great on the game room! There’ll hopefully be a post on them at some point, but I successfully made us some built in bookshelves that look great! Baltic birch plywood with maple faces. Lovely.
No game/dining room could be complete without a great table and chairs, though! We’ve been searching for months and finally came across this amazing mid-century modern set at an estate sale for only $100!
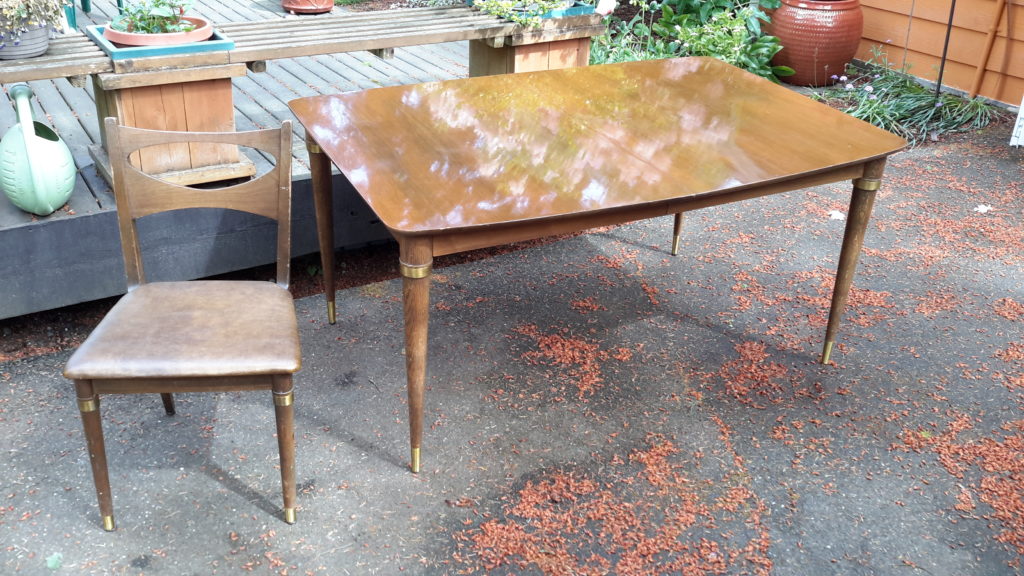
Our lovely new walnut veneered table and one of the 4 chairs. Such a great cut-out in the chair back!
The family who sold us the set told of how their mother, who is 101, received the set as a wedding present from their uncle in 1961! You could tell the family was excited that it would end up with a new family that enjoyed it as much as they had all these years. They even asked how often we would play games on it. Answer: as often as we possibly can!!!
Everything is still in pretty good shape, but definitely well-loved. To make it perfect for us, we decided to give it the update it needs to hopefully last another 50 years! The chairs are going to stay as is for the moment (aside from new sliders on the feet), but I’m now in the process of refinishing the table. It’s my first time doing anything like this, so I figure there’ll be some explorations and some pitfalls…and I might as well let you see it all unfold!
My first step, of course, was to watch a bunch of YouTube videos and read a bunch of articles. Finding a bazillion different recommendations, I settled on the basic process of Dashner Design (great YouTube videos!) since he also refinishes mid-century furniture. Being smart (I hope), I began the actual refinishing on one leaf of the table – it’s got two. That way if I totally screw up, well, we really only need one leaf anyway!
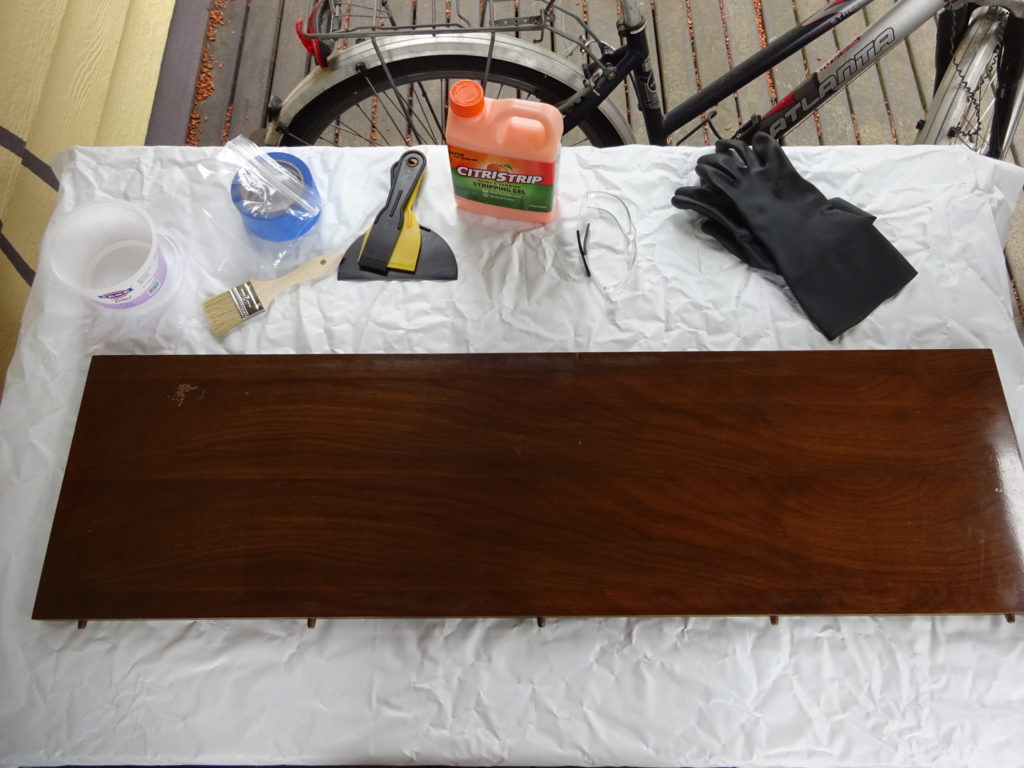
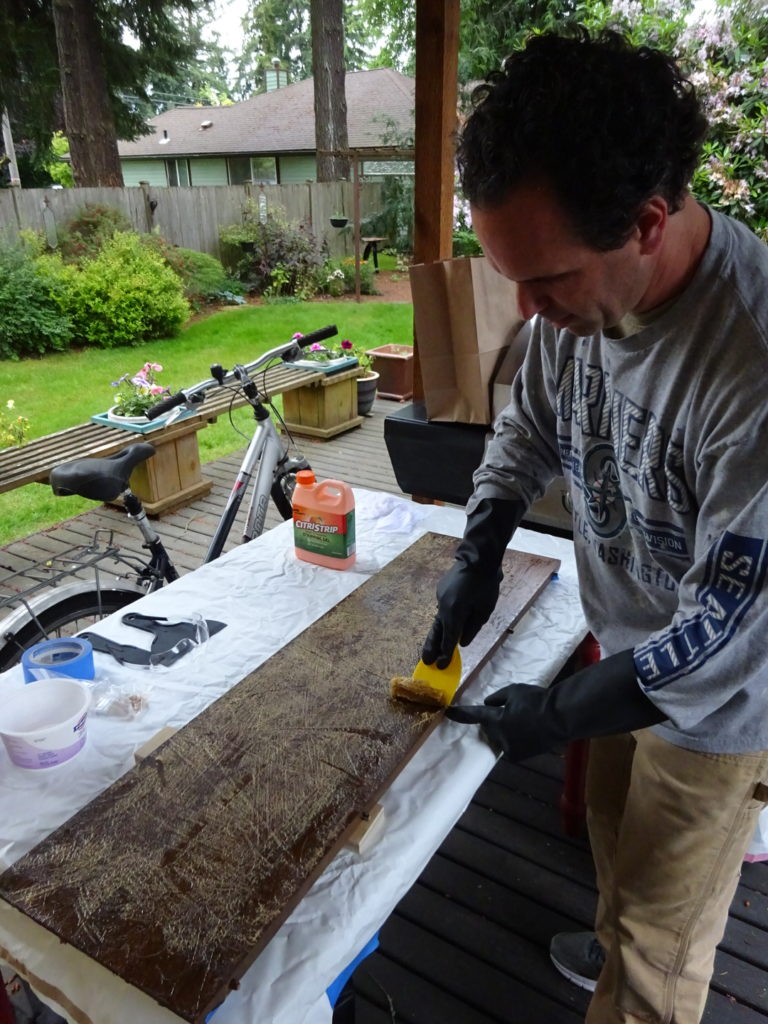
Here’s my beginning tools for stripping the polyurethane off the top.
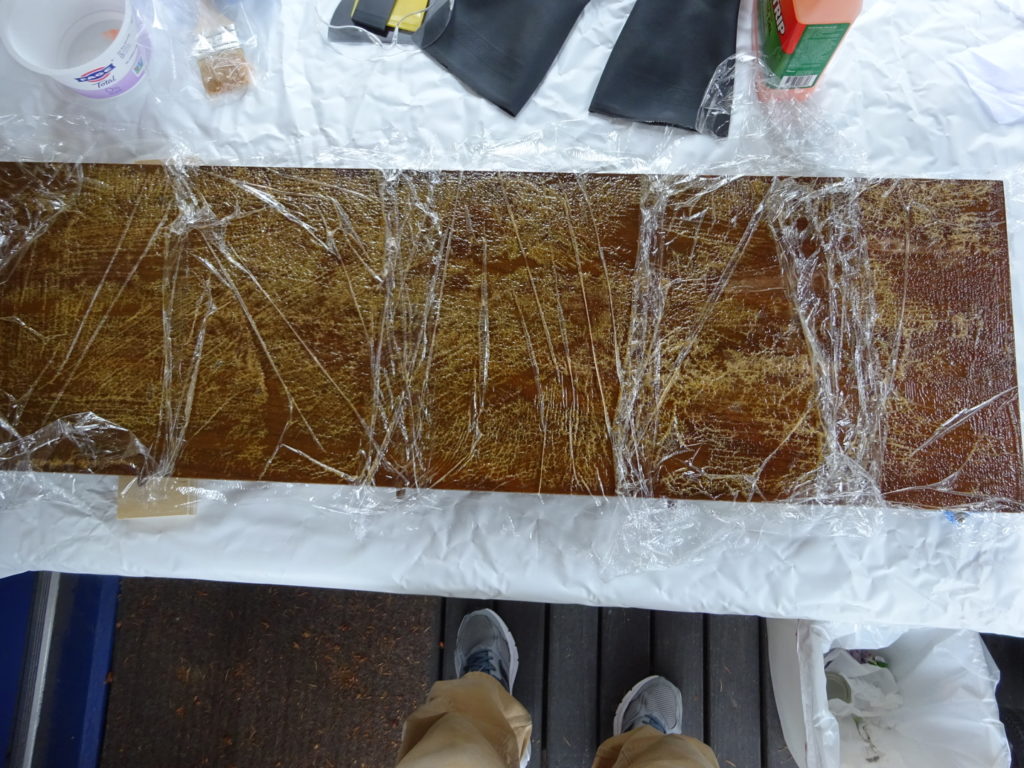
I basically covered the leaf with Citristrip (a less chemically dangerous finish remover than most) and waited.
You’re supposed to make sure it stays wet, so I covered it with cling wrap as I was pretty sure it would take awhile to get the polyurethane off…and I was right. It absolutely worked, though!
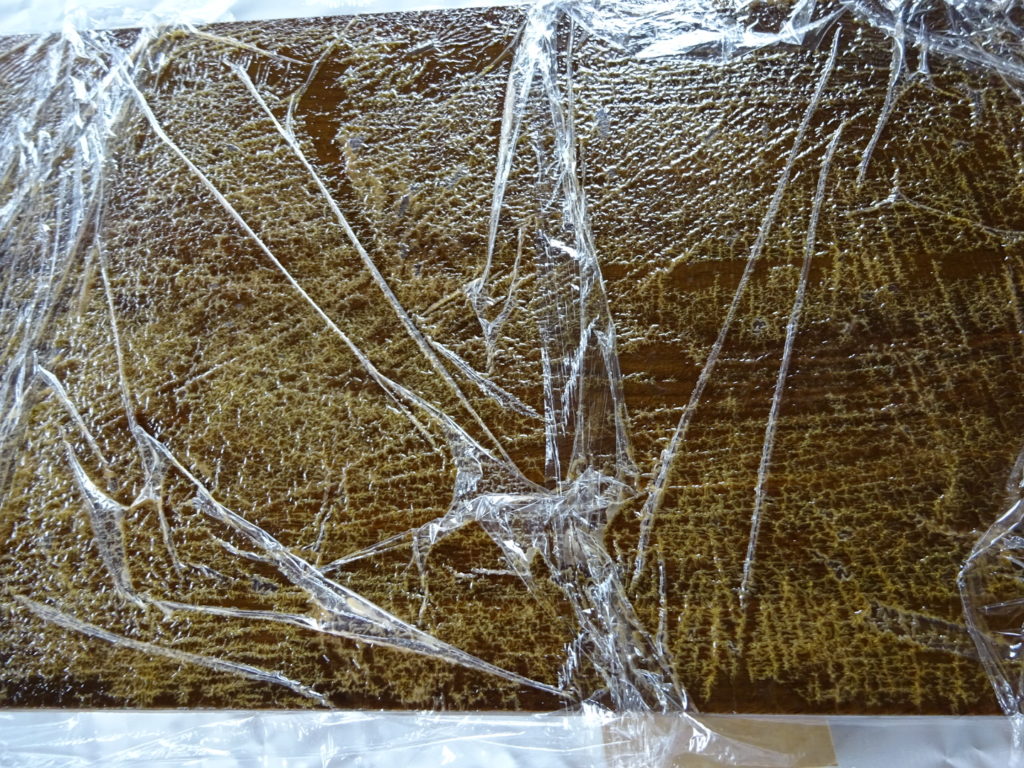
See all that orange peeling?
That’s the poly bubbling up. A little too early, I decided to go for it and removed the plastic and started scraping away the finish with a plastic spatula. It was amazing!
Most of it came right up, but there was still a bit to go, so I added more Citristrip and waited again for more orange peel.
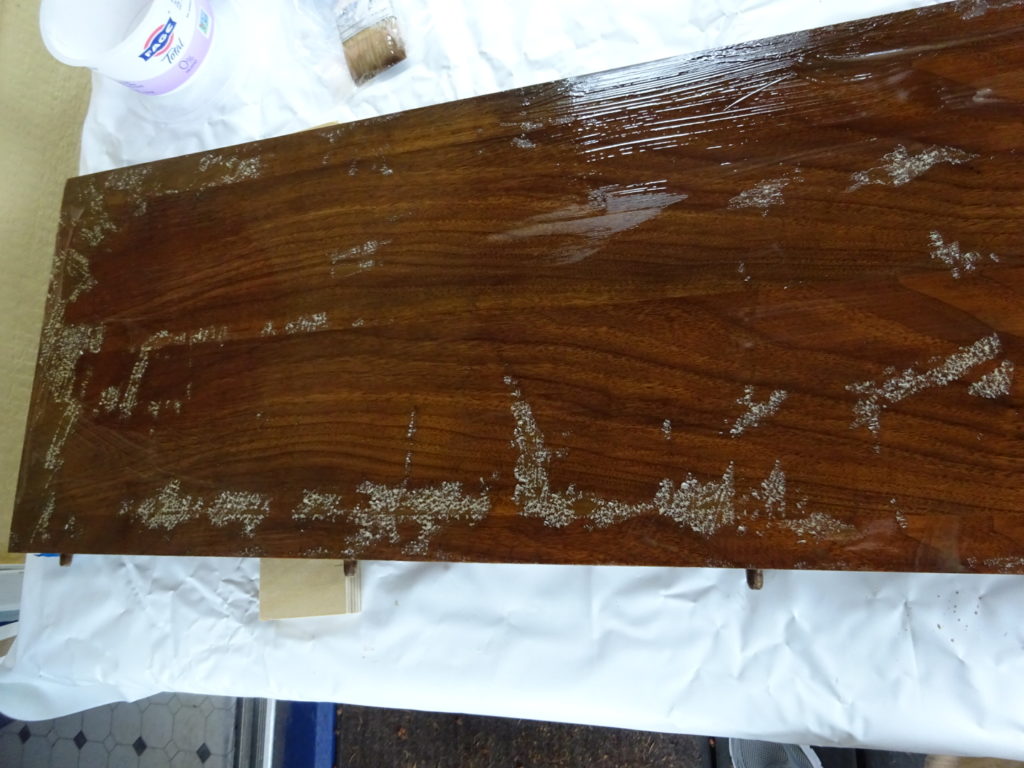
I actually did 3-4 rounds of stripping because I just wasn’t waiting long enough for the Citristrip to do it’s job. Lesson learned! I also learned that the Citristrip, if put on the stained wood once the poly is gone, will also pull up the old stain! That’s pretty nice as the top of the table is a veneer, so I can’t sand through it to get to fully bare wood. Here’s what it looked like after cleaning off the Citristrip:
So nice! I then did some sanding…which turned out to be a bad idea. Apparently sanding wood with stain on it just sort of gets gummy and scratches show pretty obviously. Grrr. I did the best I could, but next time I won’t sand unless there’s deep grooves I need to try to get out. Just now I put on some Varathane Dark Walnut oil stain.
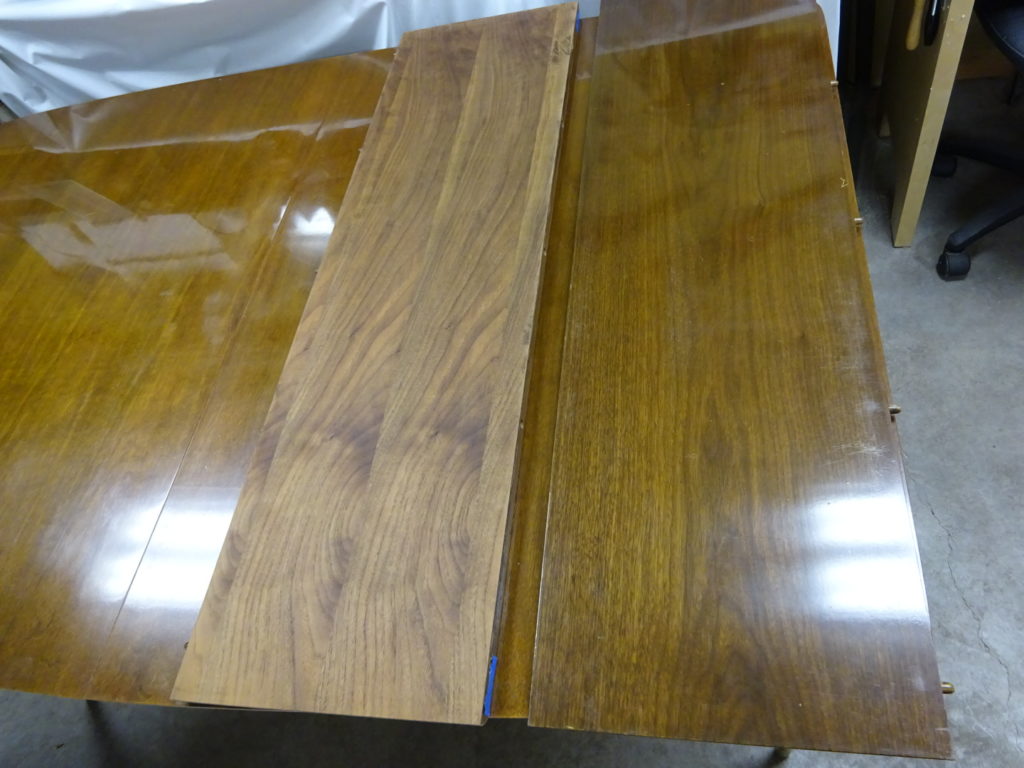
I really thought it would be darker based on the can, but no. I might try another coat once it dries or get a different stain and overlay it darker. Regardless, things are already looking more our style than the high-gloss, golden hue it started with! My current plan is to then finish it with a bunch of coats of Deft spray lacquer in a satin finish.
More to come as the project continues…







Nice work!!!
Try a very very fine steel wool dipped in the Citrix to remove any remaining residue from the wood surface – it will scratch less than sandpaper. You may also want to consider using Danish Oil for the finish – it will yield a hand-rubbed oil finish with less gloss than a lacquer and less emissions (sort of) than a spray anything. You’re wise to be working this outside on the porch – even with Citrix, ventilation is important. Nice job, and glad to see you and Anner are (finally) getting domesticated… well, sort of.
Thanks for the ideas, Carey. I’ve definitely decided to ditch the lacquer – apparently the aerosol works fine for small projects, but a tabletop really needs a spray gun. I’m currently thinking I’ll end up going with a satin finish wipe-on polyurethane, but I’ll look into the Danish Oil. Just wonder how well that will hold up over time…really want to do as little as possible for future upkeep.
I made some terrible errors learning how to do this. Glad to hear about the Citrix. I love the color of the stain. The grain shows through beautifully. Congratulations!
Thanks, Aunt Casey. The Citristrip really was amazing stuff!
We actually decided that we wanted a darker color so I’ve gone over it again with a black stain and it gave a tone we’re pretty happy with. More on that once I’ve done enough to warrant the second blog entry!